How
Ib Olsen builds his beautiful rods
...and some elementary notes.
First splitting of the
bamboo |
IIt is highly important that the bamboo is always kept on a dry place,
and during the whole production to have this in mind. One can even - when
the humidity outside is high - keep the splits hanging in a plastic or
metal tube and underneath at a short distance from the end, an electric
carbon-filament bulb.
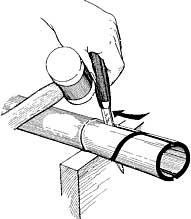
The best thing to do is to mark the end of the pole with a speed-marker
and then with the same tool make a wide spiral around the pole - then one
can always later on place the splits exactly in the same relative position
as they were in the original pole! To us it's of great importance that the
splits in the final rod are positioned so that opposite sections in the
original pole are also opposite in the final rod!
As usual make a split along one side of the pole to open the cells
between the node diaphragms. Then split it in halves.
The marked bamboo after
splitting |
Different stages of node
'removal'
The 60 degrees tool
|
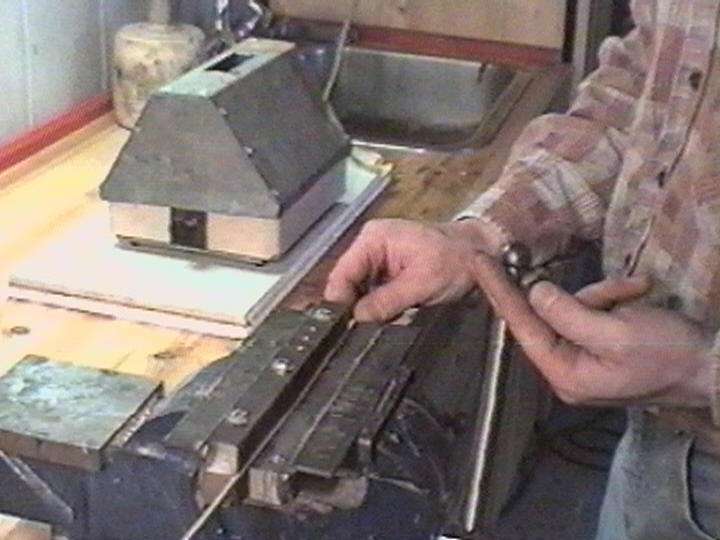
Now we come to the splitting, that can be a
very difficult job - but we use a method learned from Bjarne Fries -
another clever Danish rod-builder. In a vice we place a knife-blade with
the point upwards and protected by a metal-ball (so that one doesn't harm
oneself during the splitting).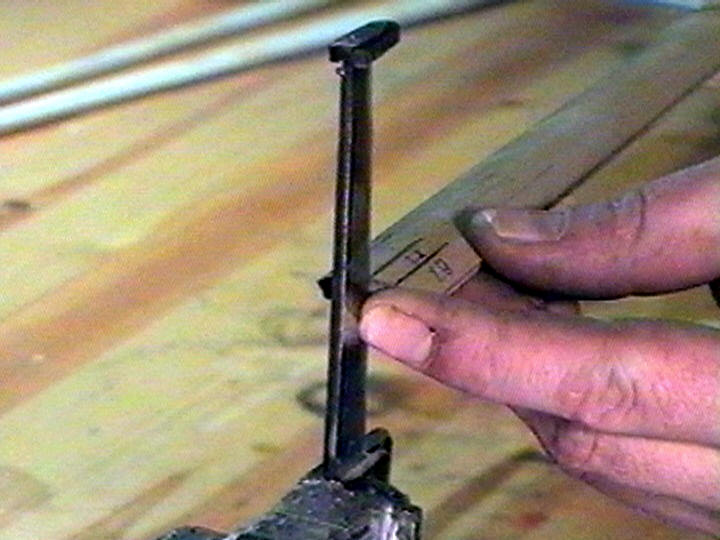
 The The
![]()
Place the Cursor over the black frame and press the left button.
The edge of the knife pointing towards you.
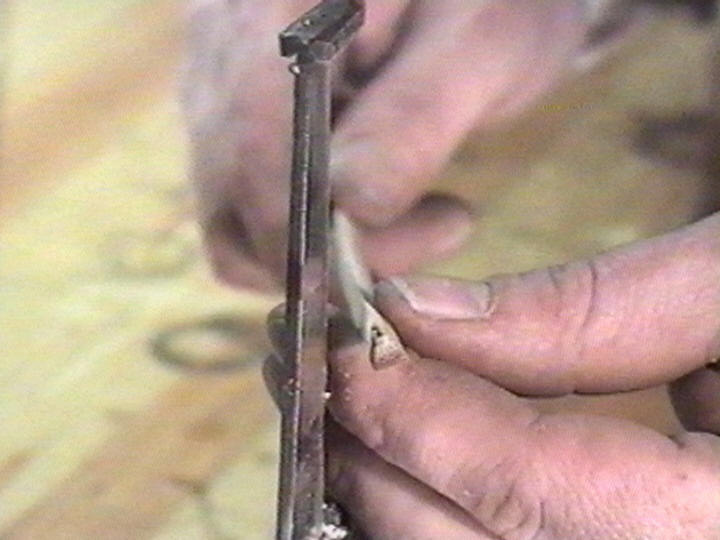
In preparation one has with a speed-marker drawn short lines along the
whole bamboo-piece, where it is to be be split. Then the end is pressed
against the edge of the knife and during the whole splitting-process the
surface of the bamboo must be exactly at an angle of 90 deg. to the knife.
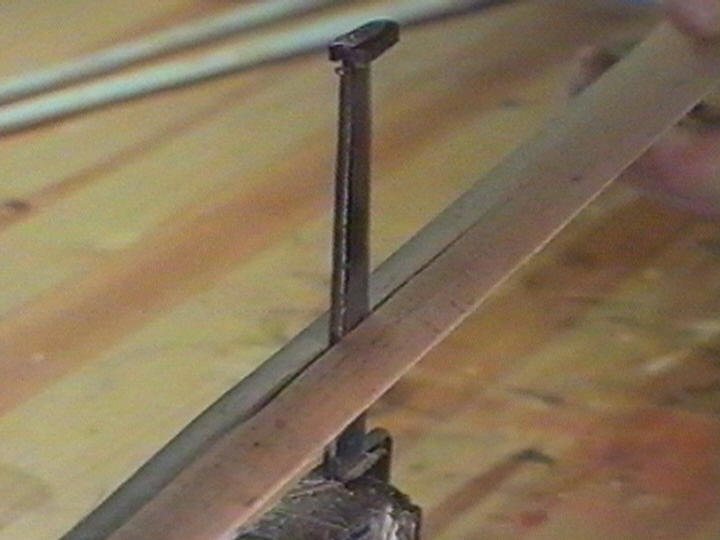
Then one presses the bamboo against the knife and as a start it can be
needed to make a short 'rap' at the other end of the bamboo. By pressing
the bamboo against the knife the bamboo is split: One keeps ones hands as
close to the knife as reasonable, and following the marks the total length
is split. Should it move out of range one presses with one of the hands at
the side of the bamboo just to the side of the knife, so that the split
goes back on the right course.
OBS! Never try to make corrections by twisting the bamboo or moving the
end of the pole to one side or the other!
With this procedure one can with a little experience split the bamboo
very close to the measures, and by this spare a lot of work later on. One
will very early learn, that it’s much easier to split a piece of bamboo
in two equal parts, than to split a section in three - the broader strip
will have a tendency to 'eat bamboo' from the more narrow part.
The splits are tied together and hanged away on a dry place for a week or
two. Why? Bamboo is a natural material and by this has its own life. Taken
away from the connection with the other splits in the pole they start to
find their own 'position of rest' - and first then one can continue the
building.
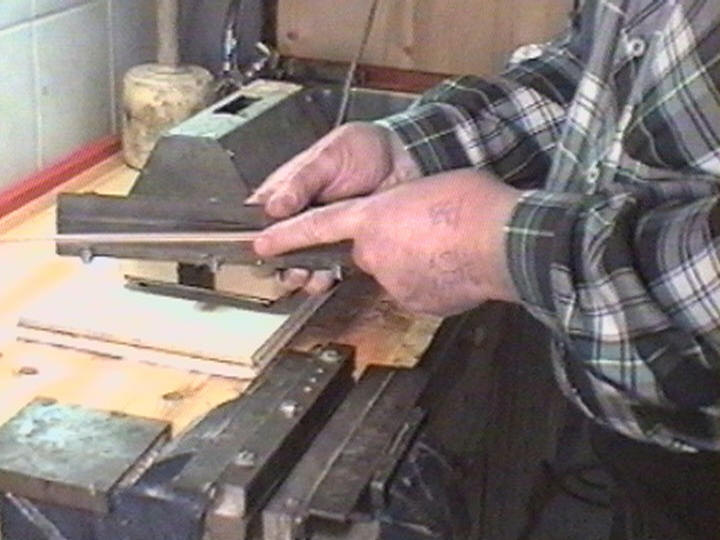
As Ib is a carpenter by profession, he has a natural sense how to work
with bamboo in the best way. Just after the final splitting he uses the
mounted knife to make the 60 deg. planes by pressing the sides of the
splits against the edge of the knife in the 60 deg. angle.
We more normal persons have to use a knife and a 60 deg. measurement tool
to make one of the sides - then we make the other plane in the planning
form. But before all this we heat the splits to temper them.
After heat-tempering the remaining parts of the diaphragms are removed
and we remove a little bit more bamboo, so a small grove is left (see why
later on!).
On the other side we remove a small part of the nodes - only the very
sharp edge is filed away - the rest of the nodes are pressed down in the
way the famous Jim Payne did it. We do it between the jaws of a vice after
having heated the node. One has to place some softer blades of metal
between the jaws, so that no unwanted marks are left on the surface of the
bamboo. (As Ib works with splits with the final 60 deg. planes, he has to
use an insertion between the jaws of the vice like a small planning form
on the one side and a flat one on the other). By this procedure he
'removes' the nodes and in the same process correct any bends etc. in the
splits...
Most rod-builders remove the enamel layer before they start the
preliminary planning in the form - they even make the side totally flat
and by this remove some of the vital power-fibres in the middle of the
splits. We don't do that. We plan with the enamel layers on. The curve of
the surface is so small on these narrow strips that it doesn't harm the
precision of the planning. Moreover it has the advantage, that we can
adjust the planning form to the same measures we got, when we measured a
lacquered rod!
First when the splits are glued together we remove the outer enamel-layer
and by this preserve the convex surface of the bamboo - showing that we
have not removed a single power-fibre!
On some of his last rods Ib has even let the enamel-layer be and by
this protected the final rod even better. Some people will perhaps not
like the appearance - then they can't see anything of the fibres!
Ready for the ferrule
|
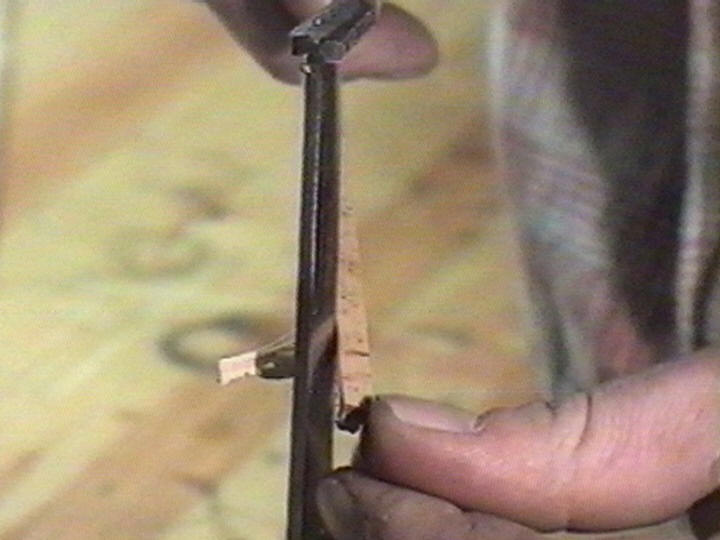
We never - never - remove anything of the bamboo from the places for the
ferrules (Garrison did). Why make a rod weaker? In stead we make a few
serration's of the edges with a small hacksaw and then wind some
cotton-thread around the rod and then put the glue on and press a ferrule
on with an inner-diameter like the outer-diameter of the rod. It gives a
tiny more metal-weight; but one can gain it back using a little shorter
ferrules - many ferrules on trout-rods are too long and heavy - and are
you for the sophisticated - then use a female ferrule of titanium (and a
male of nickel-silver).
Ib uses most only cork for both the handle
and the reel-seat. The cross-section at the reel-seat is not round, but a
little flat on the side that shall come into contact with the foot of the
reel. Opposite this he inserts two narrow lancet-shaped pieces of the
utmost layer of bamboo in the cork - so that the rings don’t cut into
the cork, when the reel is tightened to the rod.
Contact
Ib Olsen
Engvej 30
DK-9620 Aalestrup
Denmark
|